Running a home-based food business is exciting – nonetheless, managing orders, payments, and inventory can get overwhelming fast. That’s where a restaurant POS (Point of Sale) system comes in. It streamlines your operations, keeps track of sales reports, and even helps with customer management. The good news? You don’t need a fancy restaurant to use one. Whether you’re selling homemade meals, baked goods, or meal prep services, a POS system can make your life easier.

Here’s a step-by-step guide to setting up a restaurant POS system for your home-based food business—without the hassle. Read on.
Choose the Right POS System for Your Needs
Not all POS systems are the same. Some are built for large restaurant owners, while others are perfect for small, home-based operations. The following are the top features to look for:
- Affordability – Look for budget-friendly options with essential features that can help your business operate efficiently on such a small scale.
- Ease of Use – A simple, intuitive interface saves time and frustration.
- Mobile Compatibility – Many modern POS systems work on tablets or smartphones, which is great if you’re selling at farmers’ markets or doing deliveries.
- Inventory Tracking – Helps you manage ingredients and avoid waste.
- Payment Processing – Should accept a wide variety of payment methods including credit cards, contactless payments, mobile payments, cash, gift cards, and so on.
Explore various home-business-friendly POS systems in the market like Rezku POS. Compare features and pricing before deciding.
Set Up Hardware (What You’ll Need)
You don’t need a full-scale restaurant setup to get started. You’ll only need the following hardware components to kick off the use of your home business’ POS system: a POS terminal (this can be a phone or tablet), a card reader to allow for debit or credit transaction processing, a portable printer for printing receipts or order tickets, and a cash drawer or cash register for smart cash management. Luckily, most POS systems work with plug-and-play hardware, so setup is quick.
Install and Configure Your POS Software
Once you’ve picked a system, follow these steps to set up your POS system’s software:
- First, download and install the POS software on your tablet or smartphone. After that, create an account by signing up and entering your business details (name, tax ID if applicable, etc.).
- Next, set up payment processing. Like a restaurant business, you need to have your bank account and other wallets propped up in order to process and receive customer payments. While you’re at it, you ought to adjust tax settings based on your city or region’s tax code.
- Finally, set up your menu. Be as efficient as quick-service restaurants by being smart with your POS system menu. Add and organize all your menu items, descriptions, and prices. Upload photos, if available, to help with online orders.
Customize Your Sales and Checkout Process
Your POS should work the way you do. Customize these features for efficiency: order modifiers and add-ons (for special order requests from clients), discounts and promotions, quick keys for speedy checkout and processing, and the like.
The more you tailor your POS, the smoother transactions will be.
Integrate Online Ordering and Delivery
Since you’re home-based, you might take orders through social media, your business website, third-party food ordering and delivery apps, and what not. Many POS systems integrate with these platforms, so orders flow directly into your system. This eliminates manual entry and reduces errors.
Train Yourself (And Any Helpers)
Even if you’re a solo operation, knowing your POS inside out prevents mistakes. Remember to do the following: practice entering orders and processing payments, learn how to refund transactions in case of mistakes, and test inventory tracking by marking items as sold out. If you have family or part-time helpers, train them too. A short demo is usually enough—most modern POS systems are user-friendly.
Run a Test Transaction
Before going live, do a dry run. Begin by ringing up a sample order. Next, process the payment (use your own card to test). Check if the receipt looks correct. Finally, verify the funds appear in your bank account. Going through all those ensures everything works smoothly before real customers arrive.
Go Live and Start Selling
Once you’re confident, start using your POS for real orders. Keep an eye on the following crucial operational metrics: speed of transactions, customer experience, and inventory accuracy. Tweak settings as needed.

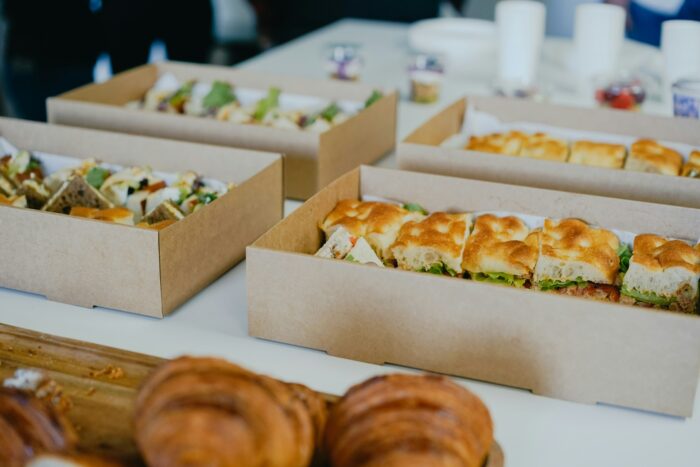
Photo by Thriday
Analyse Sales Reports for Growth
One of the biggest perks of a POS system is data. You can track best-selling items (so you know what to stock up on), peak sales times (to optimize your cooking schedule), and customer spending habits (great for loyalty programs). Use these insights to refine your menu, adjust pricing, and boost profits.
Keep Your System Updated and Secure
Security is crucial, especially when handling payments. Remember to update software regularly to avoid glitches, change passwords periodically to prevent fraud, and back up data (most cloud-based POS systems do this automatically).
Scale Up as Your Business Grows
If your home business expands, your POS can grow with you. You might add more devices (e.g., a second tablet for catering orders), integrate an accounting software, offer loyalty programs to retain customers, and so on. A good POS system adapts to your needs.
Final Thoughts
Setting up a restaurant POS for your home-based food business might seem like a big step, but it’s a game-changer. You’ll spend less time on admin and more time doing what you love—cooking and serving great food. Start small, choose the right system, and gradually explore advanced features. Before you know it, you’ll wonder how you ever managed without one.
Now, go ahead—streamline your sales, impress your customers, and watch your business thrive!


