You don’t need artistic talent or deep pockets to create stunning DIY wall art. I found this out myself after turning the empty walls of my brand new property into something special with useful apps, simple to use, like Waterlogue and Mobile Monet. With a little help, you too can transform regular photos into beautiful watercolour pieces!

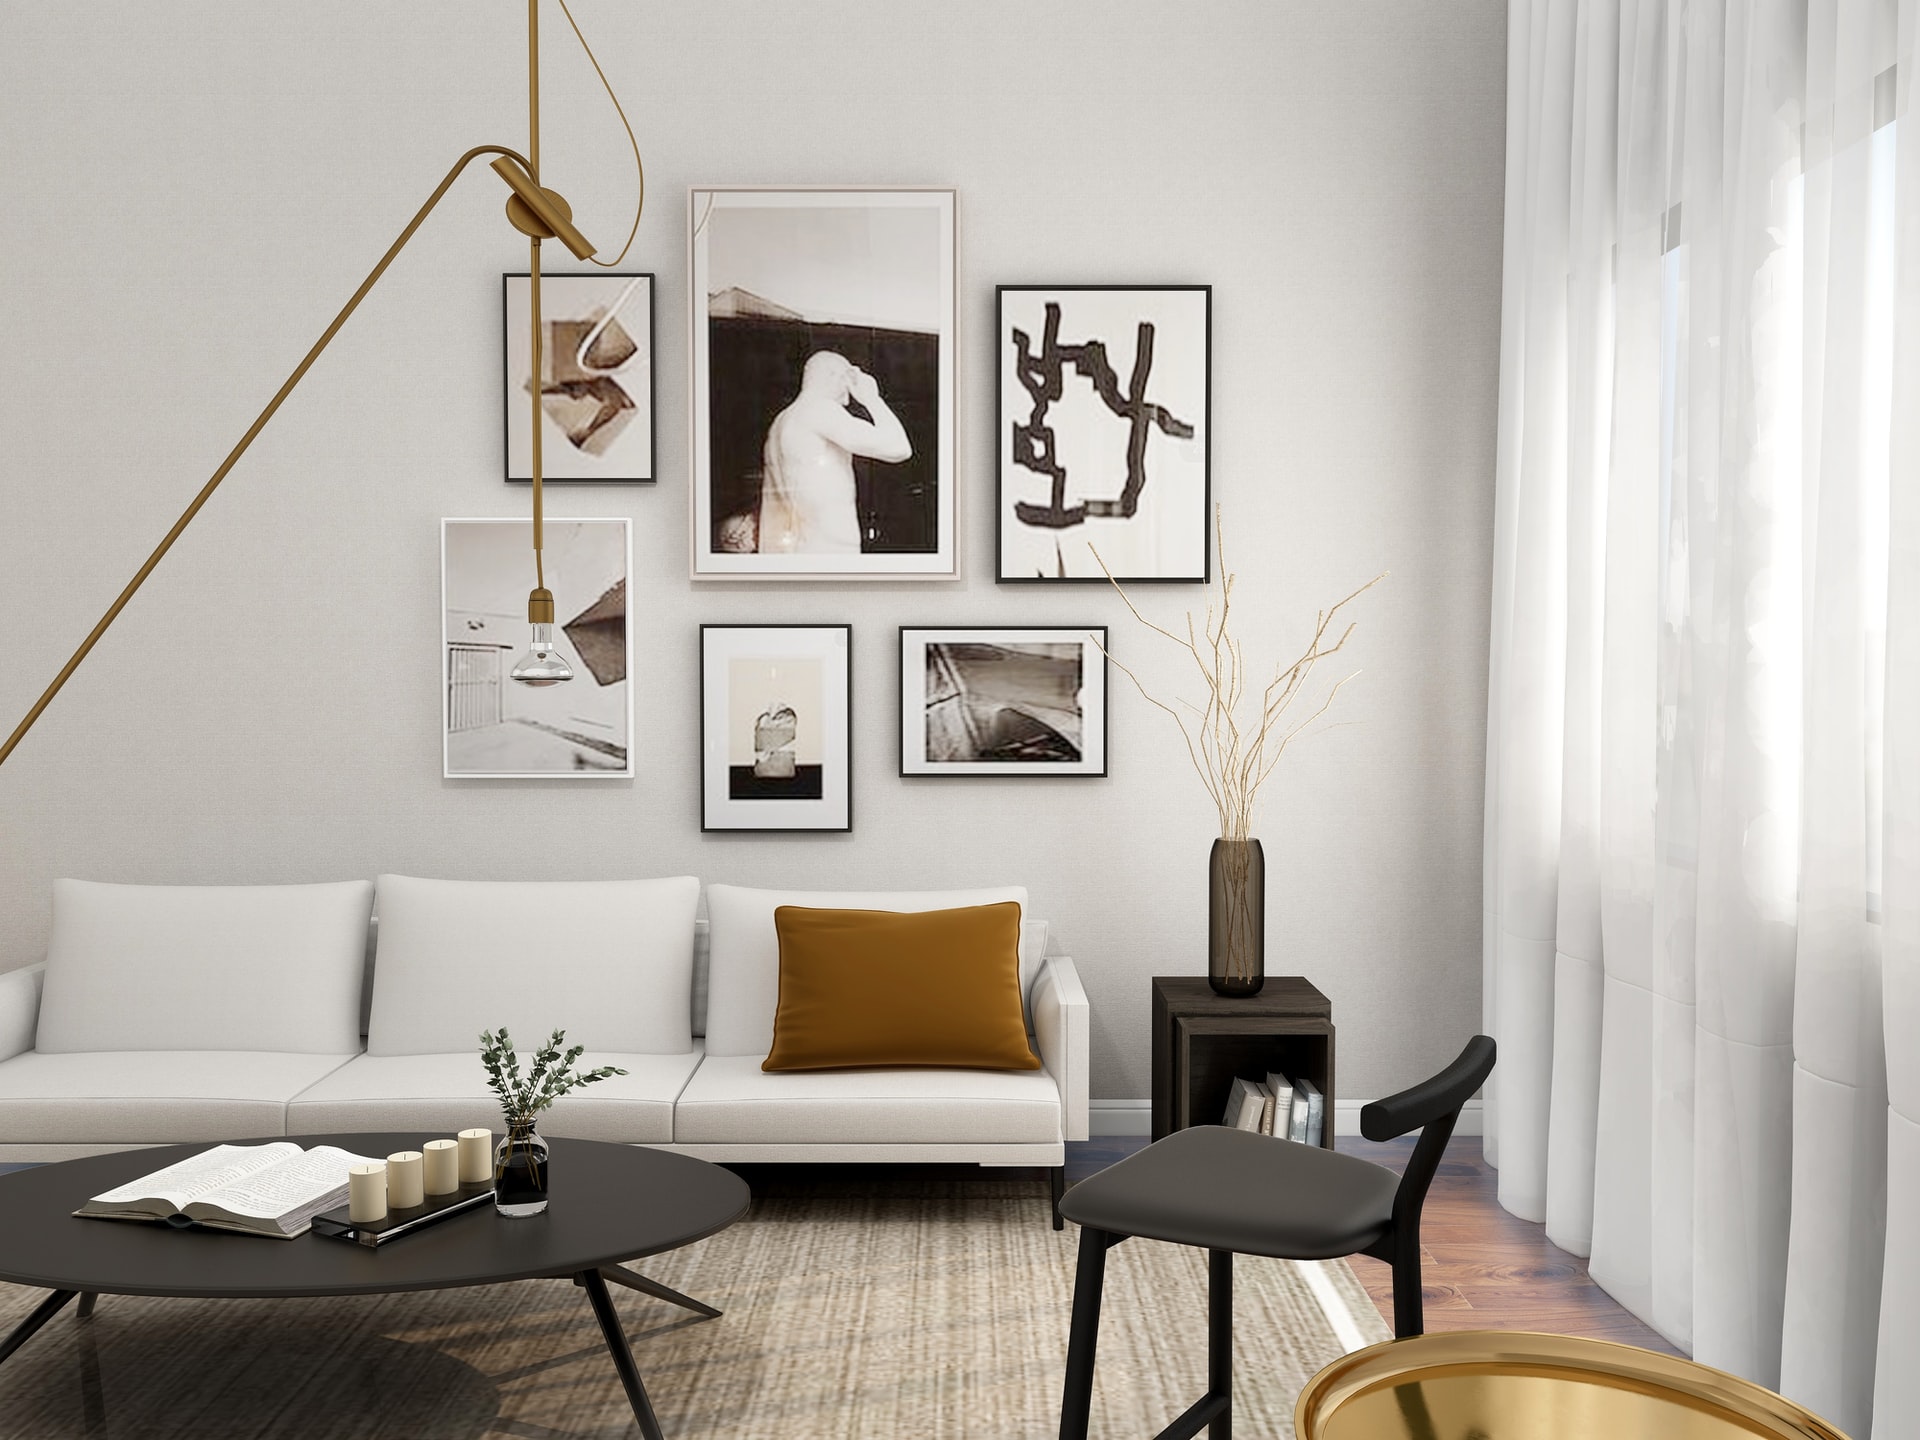
Photo by Collov Home Design
Making your own wall decor costs less than you might think. To cite an instance, a striking gallery wall can cost just £60 with four pictures that make a real statement. Public domain art and free tools like Canva let you design unique pieces without spending much money. in this post, I will show you how to turn everyday snapshots into artistic displays using budget-friendly apps and easy techniques. These methods work great even if you struggle with straight lines. The results will add a personal touch to your space or give your walls a fresh look without emptying your wallet.
Turn Your Photos into Art with Easy Apps
Smartphones are powerful tools that help create customized artwork with just a few taps. The best part? You don’t need expensive equipment or art school training to make gorgeous wall pieces that show off your personal style.
Use your phone camera or existing photos
Your smartphone camera takes high-quality images that work perfectly for artistic transformation. These simple techniques will give you the best results:
Move closer to your subject instead of using zoom, which reduces photo quality. Natural lighting gives substantially better results than flash photography that washes out details. A tripod or selfie stick helps eliminate shakiness and keeps your focus sharp.
Getting a good series of art pieces needs consistency. Find a good camera position and keep it steady for multiple shots to create a cohesive collection. This works great if you plan to make a gallery wall with multiple pieces of DIY art.
Top apps for turning photos into paintings
The digital world has many apps that change ordinary photos into stunning artwork:
- Fotosketcher gives you simple effects and filters with customization features to change tool sizes and pick specific shades. This desktop program includes oil painting, pencil sketches, and watercolor features with simple, user-friendly controls.
- Prisma shines with 21 paint variations and 300 artistic features that draw inspiration from famous artists like Van Gogh and Munch. Its modern and colorful filters keep much of the original photo while adding subtle artistic touches.
- Waterlogue creates beautiful watercolor effects with 14 customizable presets. Your original image keeps its beauty while turning into a masterpiece.
- Brushstroke lets you work with acrylic, oil paint, and gloss options using various color palettes. Users can fine-tune images, adjust colors, add texture, and even sign their work before sharing.
Tips for choosing the right photo
The right photo choice is key to creating impressive wall art. You need high resolution—photos taken with a camera of at least 12 megapixels will keep the quality intact.
Photos with bright colours and clear subjects create the most striking results. Images that have distinct textures and contrast look amazing with painting filters.
Simple photo editing improves your results before you add artistic effects. Crop for better composition, adjust brightness and contrast, and sharpen the image slightly to bring out details.
Stay away from extreme contrast where whites look bleached and darks turn pitch black. Natural lighting creates beautiful pictures to paint. Keep your subject in focus by cropping unwanted elements from the background.

Photo by Kenny Leys
Edit, Enhance, and Personalize Your Artwork
Your photo becomes art, and that’s when the real magic starts with making it your own. A few final editing tweaks can take your DIY wall art from basic to amazing.
Add filters and effects for a unique look
Filters and effects bring depth, texture, and visual interest to your artwork easily. The Drama filter in Snapseed creates more contrast that makes colors pop and details stand out. Light effects like fog or lens flare add depth and make your digital wall art more immersive.
These techniques will help you create something unique:
- Buildings look better with selective HDR effects while the sky stays natural
- Specific parts of your image need different filters through masking
- Your artwork’s edges need light adjustments through Curves to draw attention
Colors can set different moods in your art. Purple brings out individuality, orange shows activity, and green connects with nature. You can mix multiple effects through blending modes like “Add” or “Darken” to create something truly yours.
For inspiration, explore detailed paint by number artworks that guide you through color and form, allowing for creative expression in shading and highlights.
Use apps like Canva or Snapseed for final touches
Snapseed’s complete toolset makes image improvement simple. Your creation needs fine-tuning after artistic filters:
- Colours become vibrant through contrast, saturation, and highlight adjustments
- Details and image quality shine with structure and sharpening tools
- Your DIY wall decor gains depth through shadow adjustments
Canva’s Photo Editor gives you powerful finishing options. Simple sliders help fix focus issues, adjust lighting, and perfect coloring. You can reshape your artwork with adjustable color filters and photo effects in Canva.
Balance creates professional-looking DIY wall art. Designer Lynneal Santos says, “Consider the balance and composition of all the elements in the design”. She advises, “Keep it simple” – too many elements can confuse your visual message.
Print and Frame Your DIY Wall Art
Your digital creations can become stunning physical art with quality printing and smart framing choices. These finishing touches will define your DIY wall art’s appearance and durability in your space.
Best printing options to get high-quality results
The way you print your art will shape how it looks and lasts. Here are some professional options to think about:
Giclee printing produces amazing detail with vibrant colors. This method can last up to 100 years in home displays. It uses pigment-based inks on premium paper and works great for artwork you want to keep.
The paper you choose matters. Here are popular options:
- Fine art paper: add texture and an authentic artistic feel
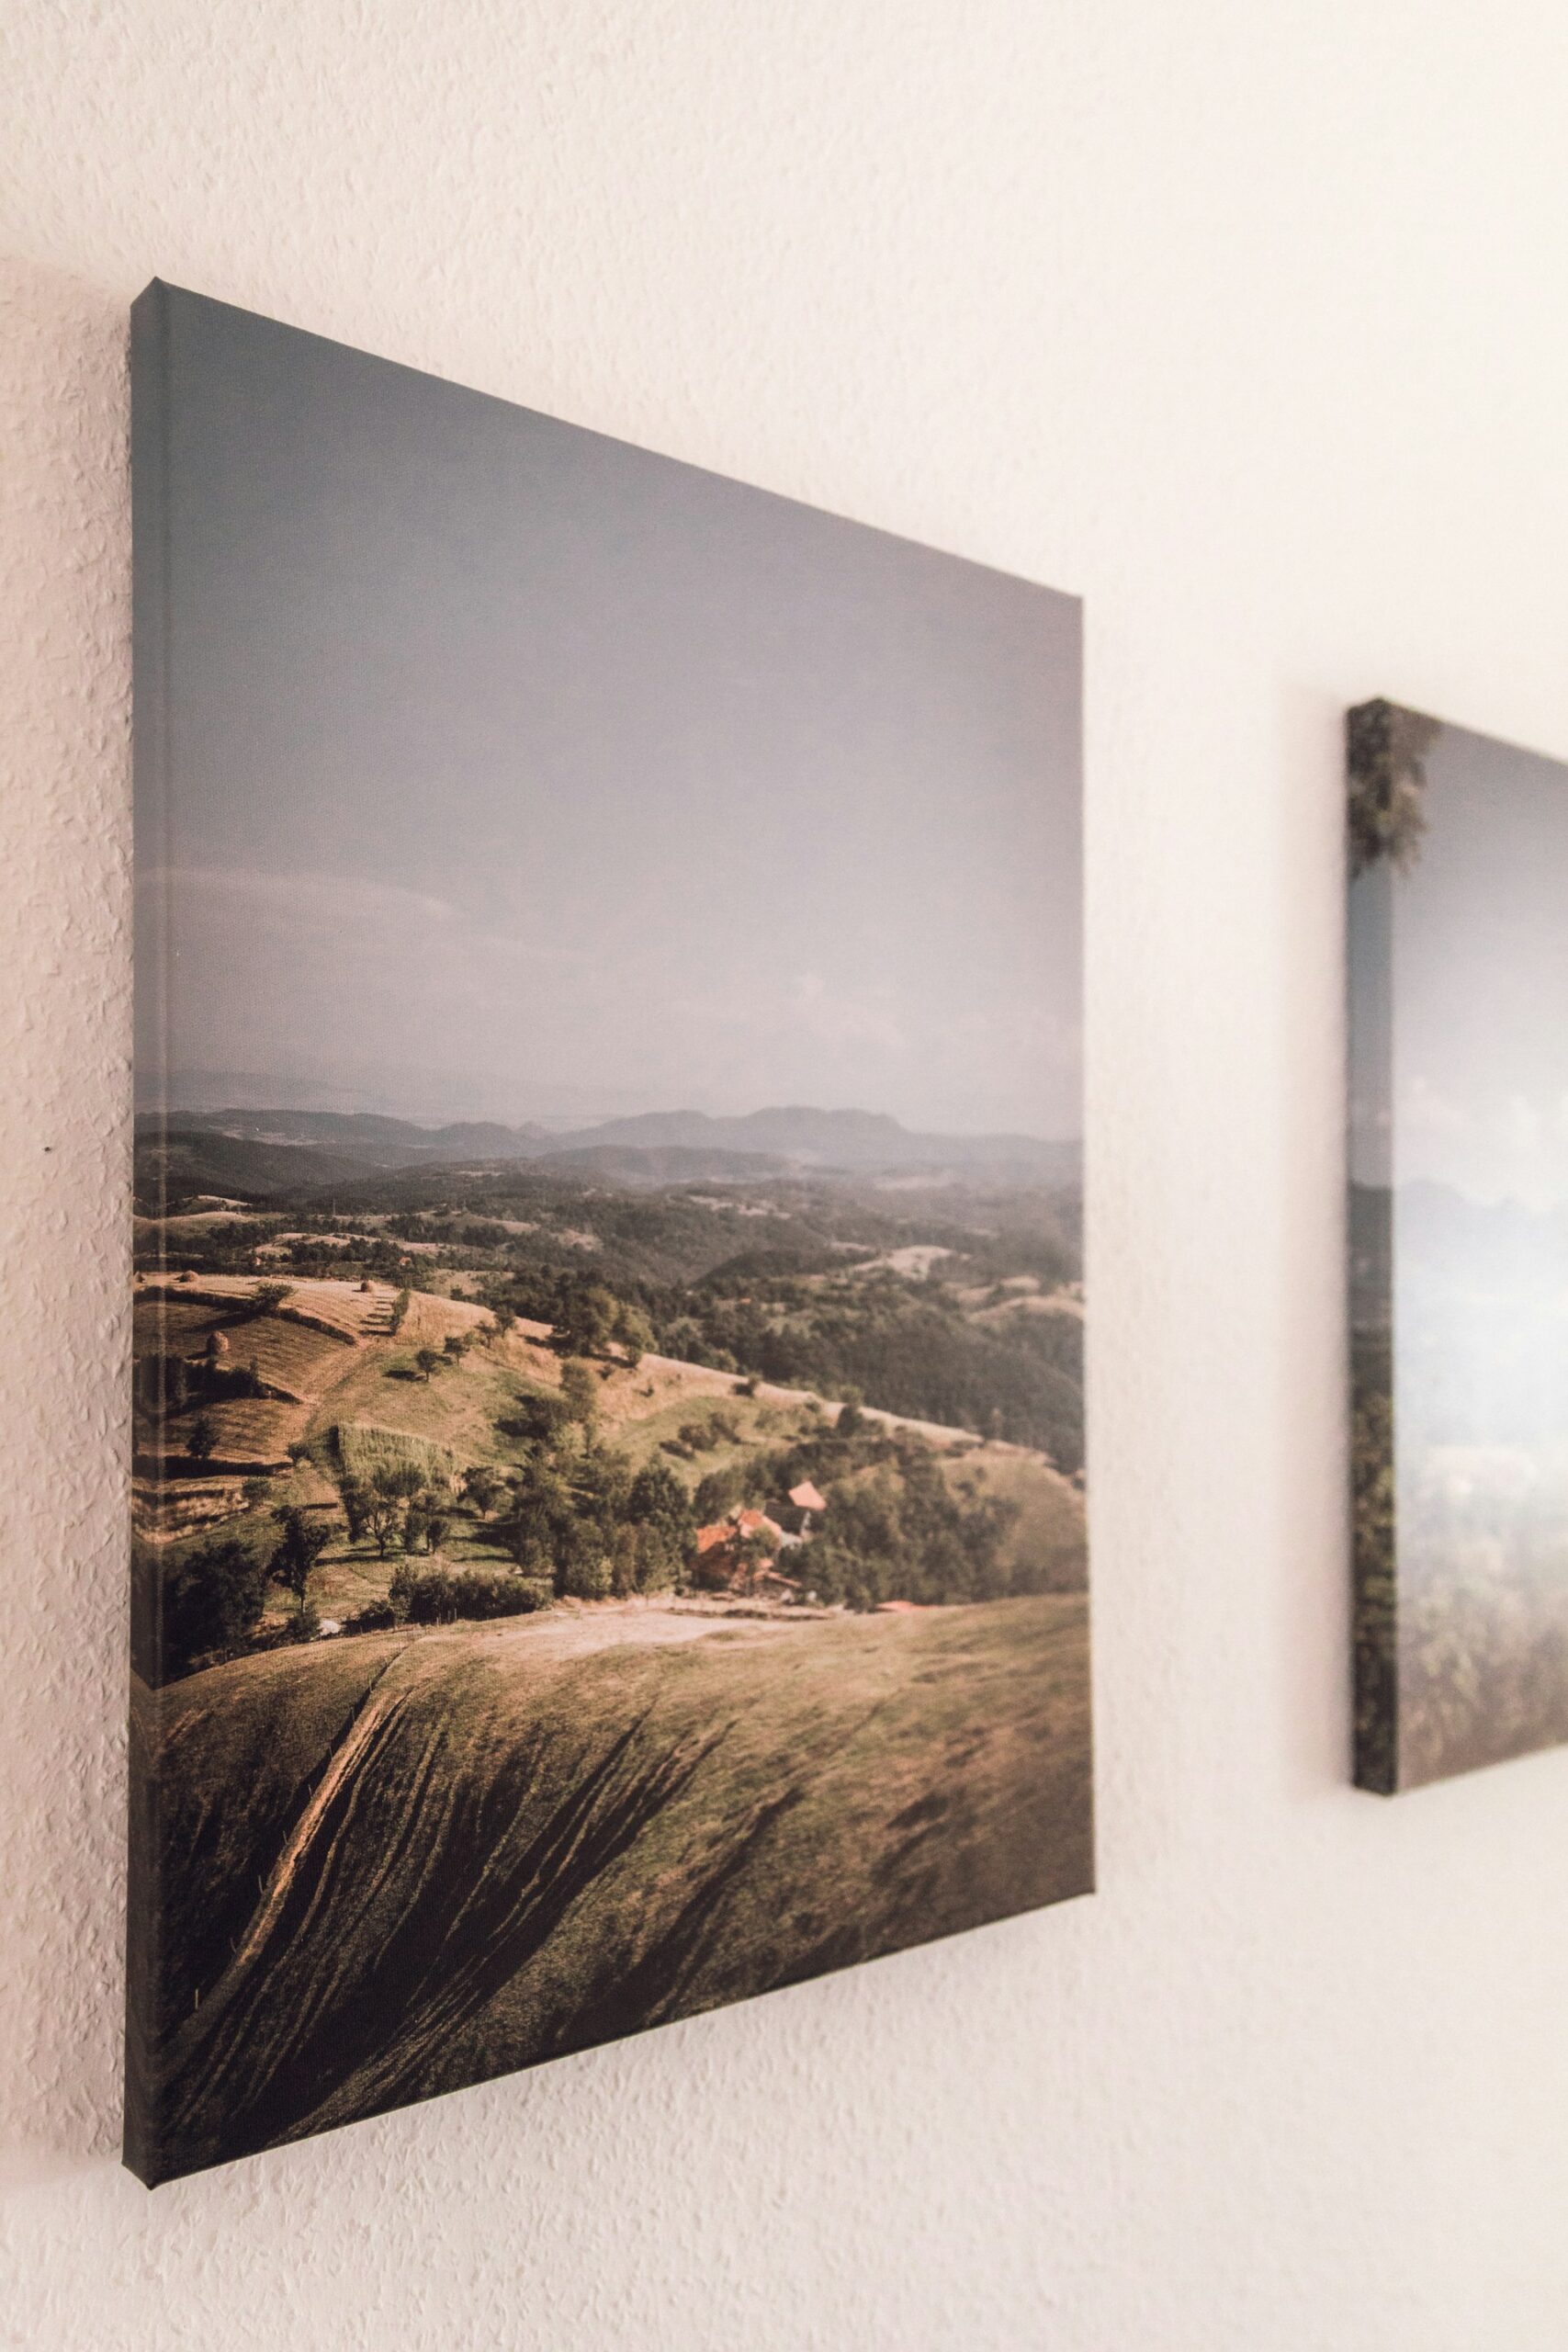
- Canvas prints: create a painterly look without glass framing
- Photo paper: give sharp details and true colors for photographic art
While home printing works for temporary displays, professional services deliver better colour accuracy that lasts longer. Look for printers that add UV-protective finishes to stop fading, especially if your DIY wall art will hang in bright rooms.
Another great option is to turn your designs into custom photo books to preserve and showcase a series of prints in a creative, tactile format—perfect for gifting or archiving your work.

Photo by Bianca Ackermann
Picking the right frame for your space
Frames protect your art and boost its visual appeal to match your decor. A good frame should guide eyes to the artwork without stealing the show.
Your artwork’s style should guide your frame choice. Traditional pieces go together well with classic gold-leaf or dark wood frames. Modern or abstract art looks better in simple box frames with thin borders.
Paper-based DIY wall art needs a mat between the artwork and glass. This prevents moisture damage and creates appealing negative space that draws attention to your work.
Frame colors don’t need to match your artwork exactly. Pick complementary shades that highlight important details. Black and white frames are versatile choices – black creates depth and drama, while white works well with bright colors.
UV-filtering glass or acrylic will protect your DIY wall decor, particularly in sunny spots. Acrylic is lightweight and won’t shatter, which makes it a practical choice.

Photo by Michael Oxendine
Creative Ways to Display Your Digital Art
Digital artwork needs the right display to make your home look amazing. The way you present your creations after printing them can completely change how your space feels.
Build a gallery wall with your prints
A gallery wall turns empty walls into spaces that tell your story. Start by laying out your arrangement on the floor before you put anything on the wall. This lets you experiment freely without making extra holes.
Paper templates of your frames taped to the wall help you visualize the final look. You can adjust everything before picking up a hammer. Keep 3-6 inches between frames, and give bigger artworks more space around them.
Balance matters even when you’re not going for perfect symmetry. Place your biggest piece at eye level – about 57 inches from the floor – and use it as your anchor point. Your gallery wall doesn’t need to be perfectly symmetrical, but it should look harmonious. Match big pieces with smaller ones and spread colors and styles evenly across the display.
Mix digital art with other decor elements
Digital artwork gives you amazing flexibility with your displays. Here are some creative ways to show it off:
- Picture ledges let you layer and change artwork easily without making new holes in your walls
- Easels make elegant stands that work perfectly for bigger statement pieces
- Propping art on mantels, shelves, or consoles creates a casual yet sophisticated look
Your displays become more interesting when you mix different elements with your digital prints. Digital art pairs beautifully with traditional media to create rich, layered looks. Add some plants, vintage frames, or decorative objects next to your digital pieces to create depth.
Digital art shines because you can change it up whenever you want without buying new pieces. This makes it perfect to refresh your space based on seasons, moods, or special events throughout the year.
Conclusion
You don’t need formal artistic training or expensive equipment to create stunning DIY wall art. This piece shows how regular photos can become beautiful artistic displays with affordable apps like Waterlogue and Prisma. On top of that, it takes just a few simple editing techniques in Snapseed or Canva to turn these digital creations into expressions of your style.
The trip from digital creation to physical display gives you many ways to customize your art. Professional giclee printing ensures lasting quality, and different framing options will without doubt boost your living space. Your creations can shine through gallery walls, easels, or mixed media arrangements. This lets you refresh your décor without spending too much.
That blank wall you’ve been looking at? Beautiful, personal art is right at your fingertips. Your everyday photos have artistic potential waiting to be tapped. Simple digital tools, thoughtful presentation, and your unique view will create wall art that feels both professional and deeply personal—whatever your drawing skills might be.


